Servings: 4
Calories: 570kcal
Materiaal
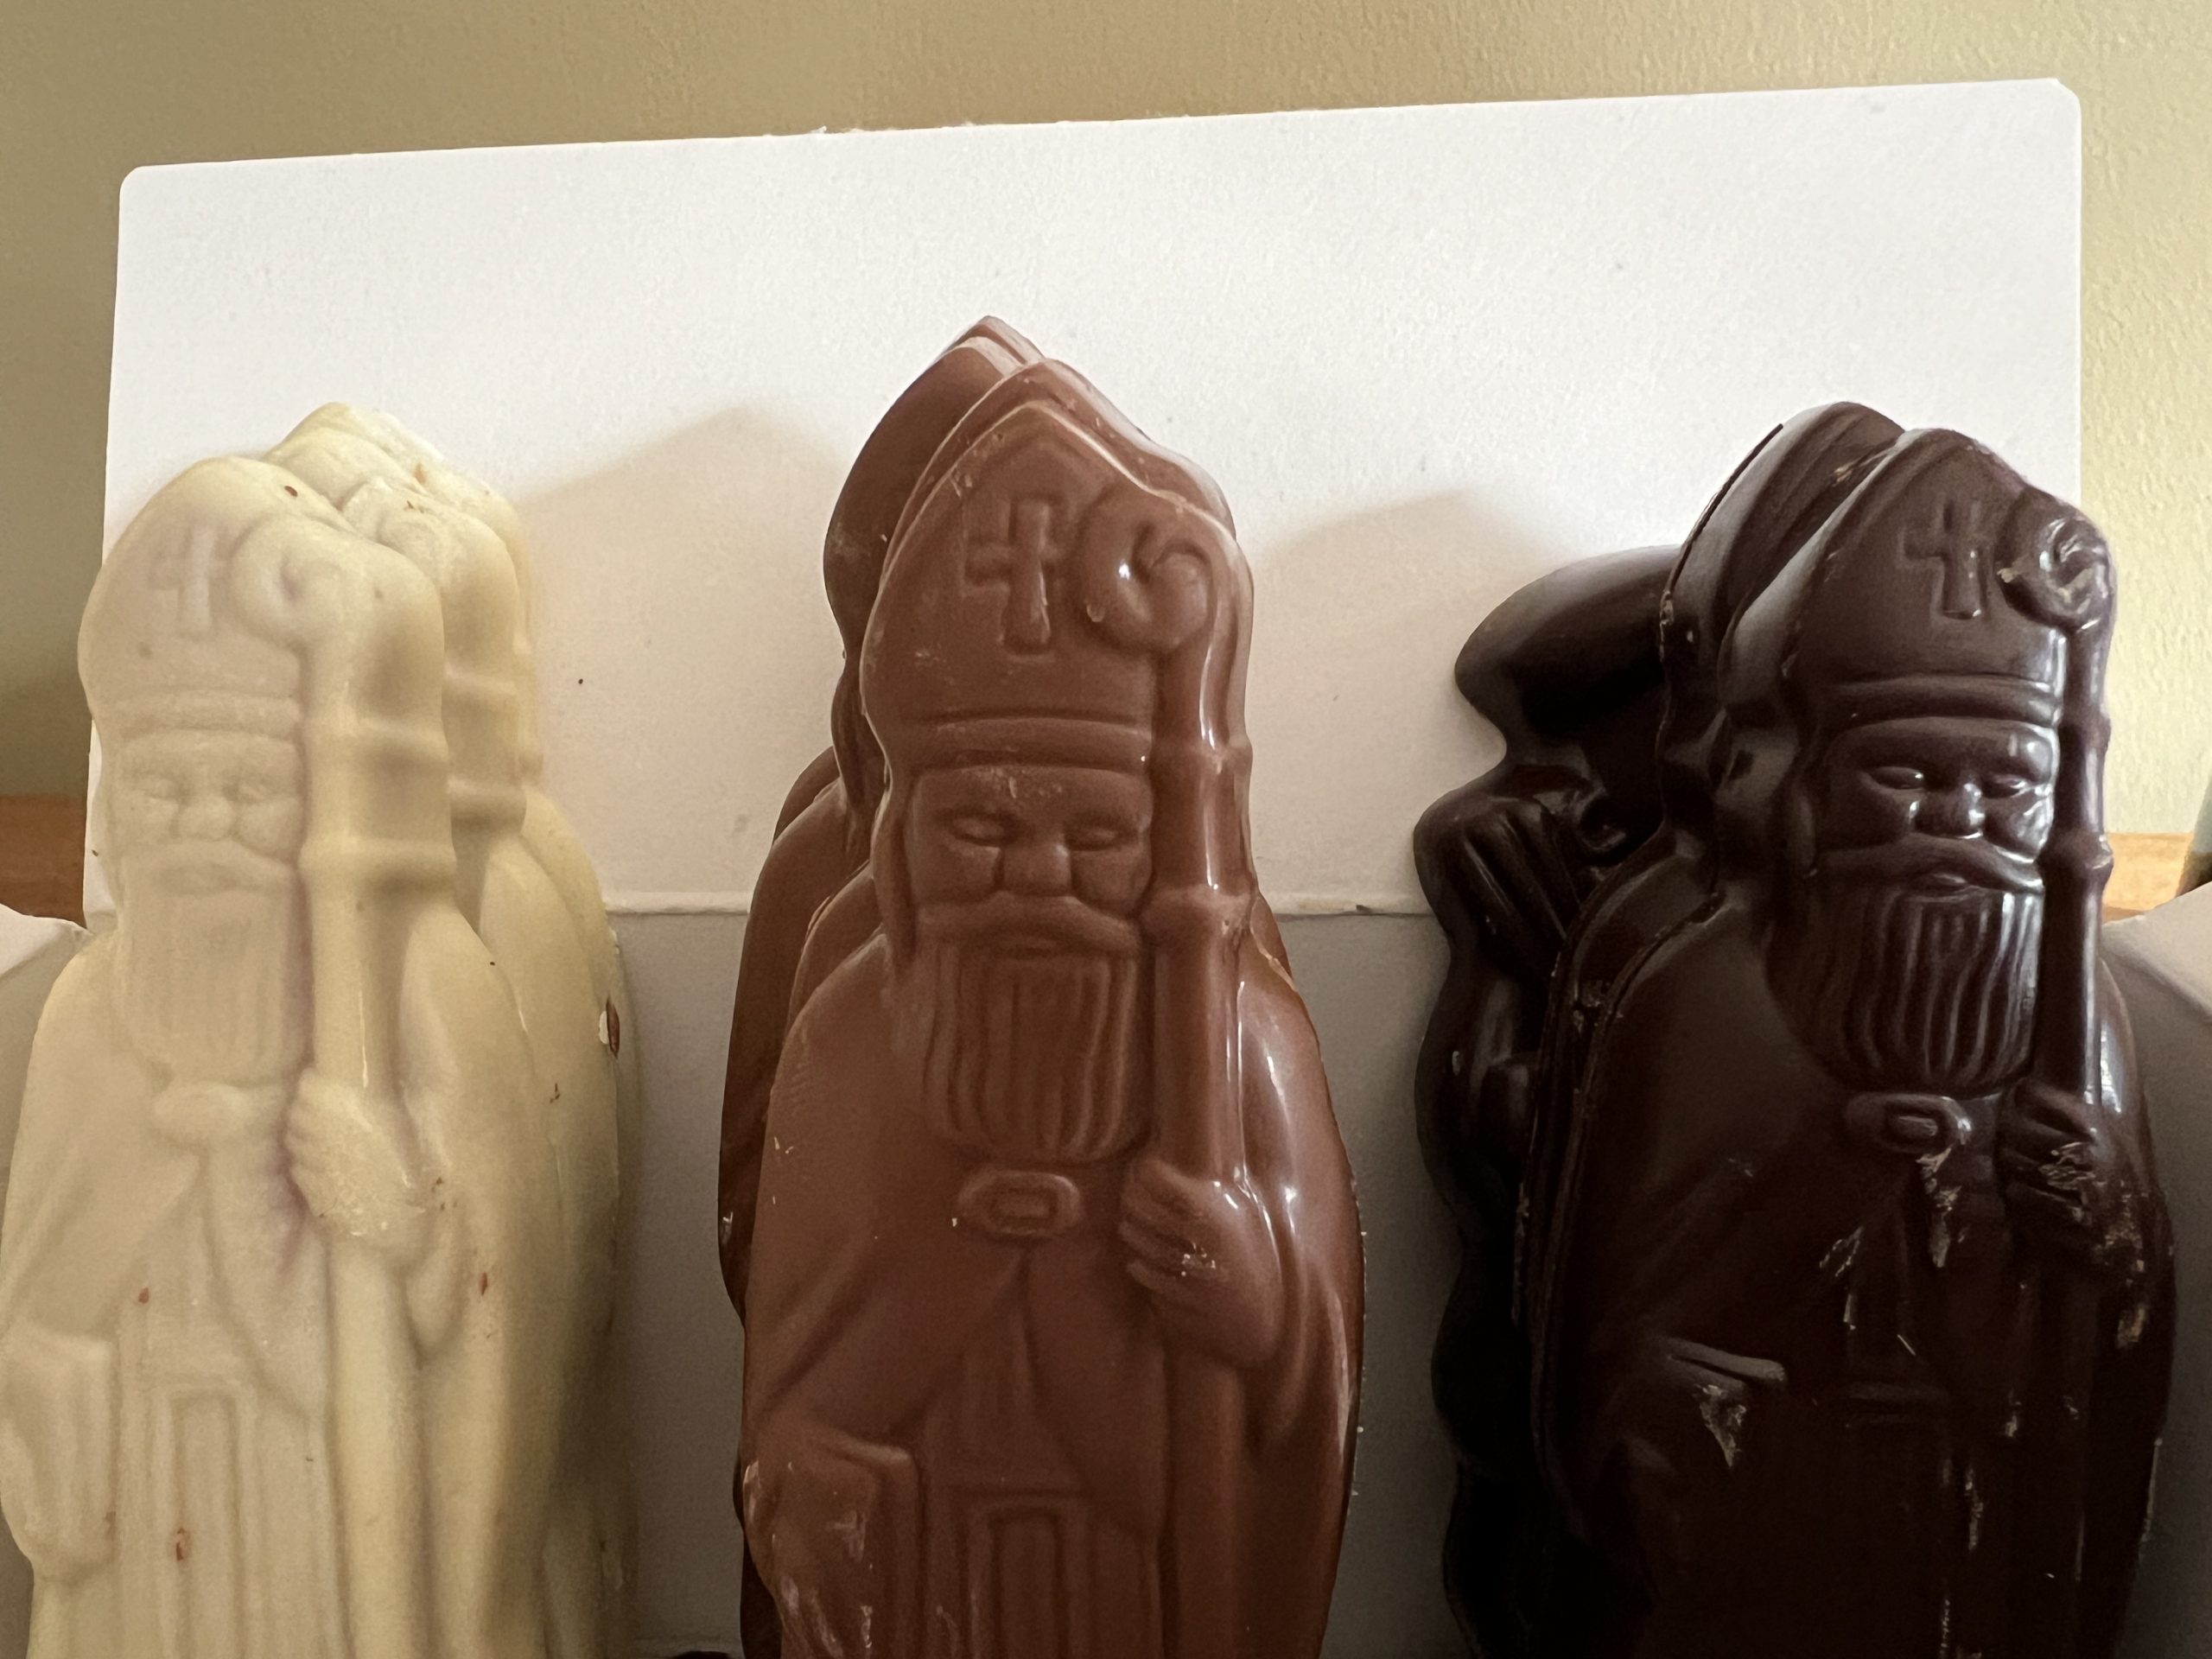
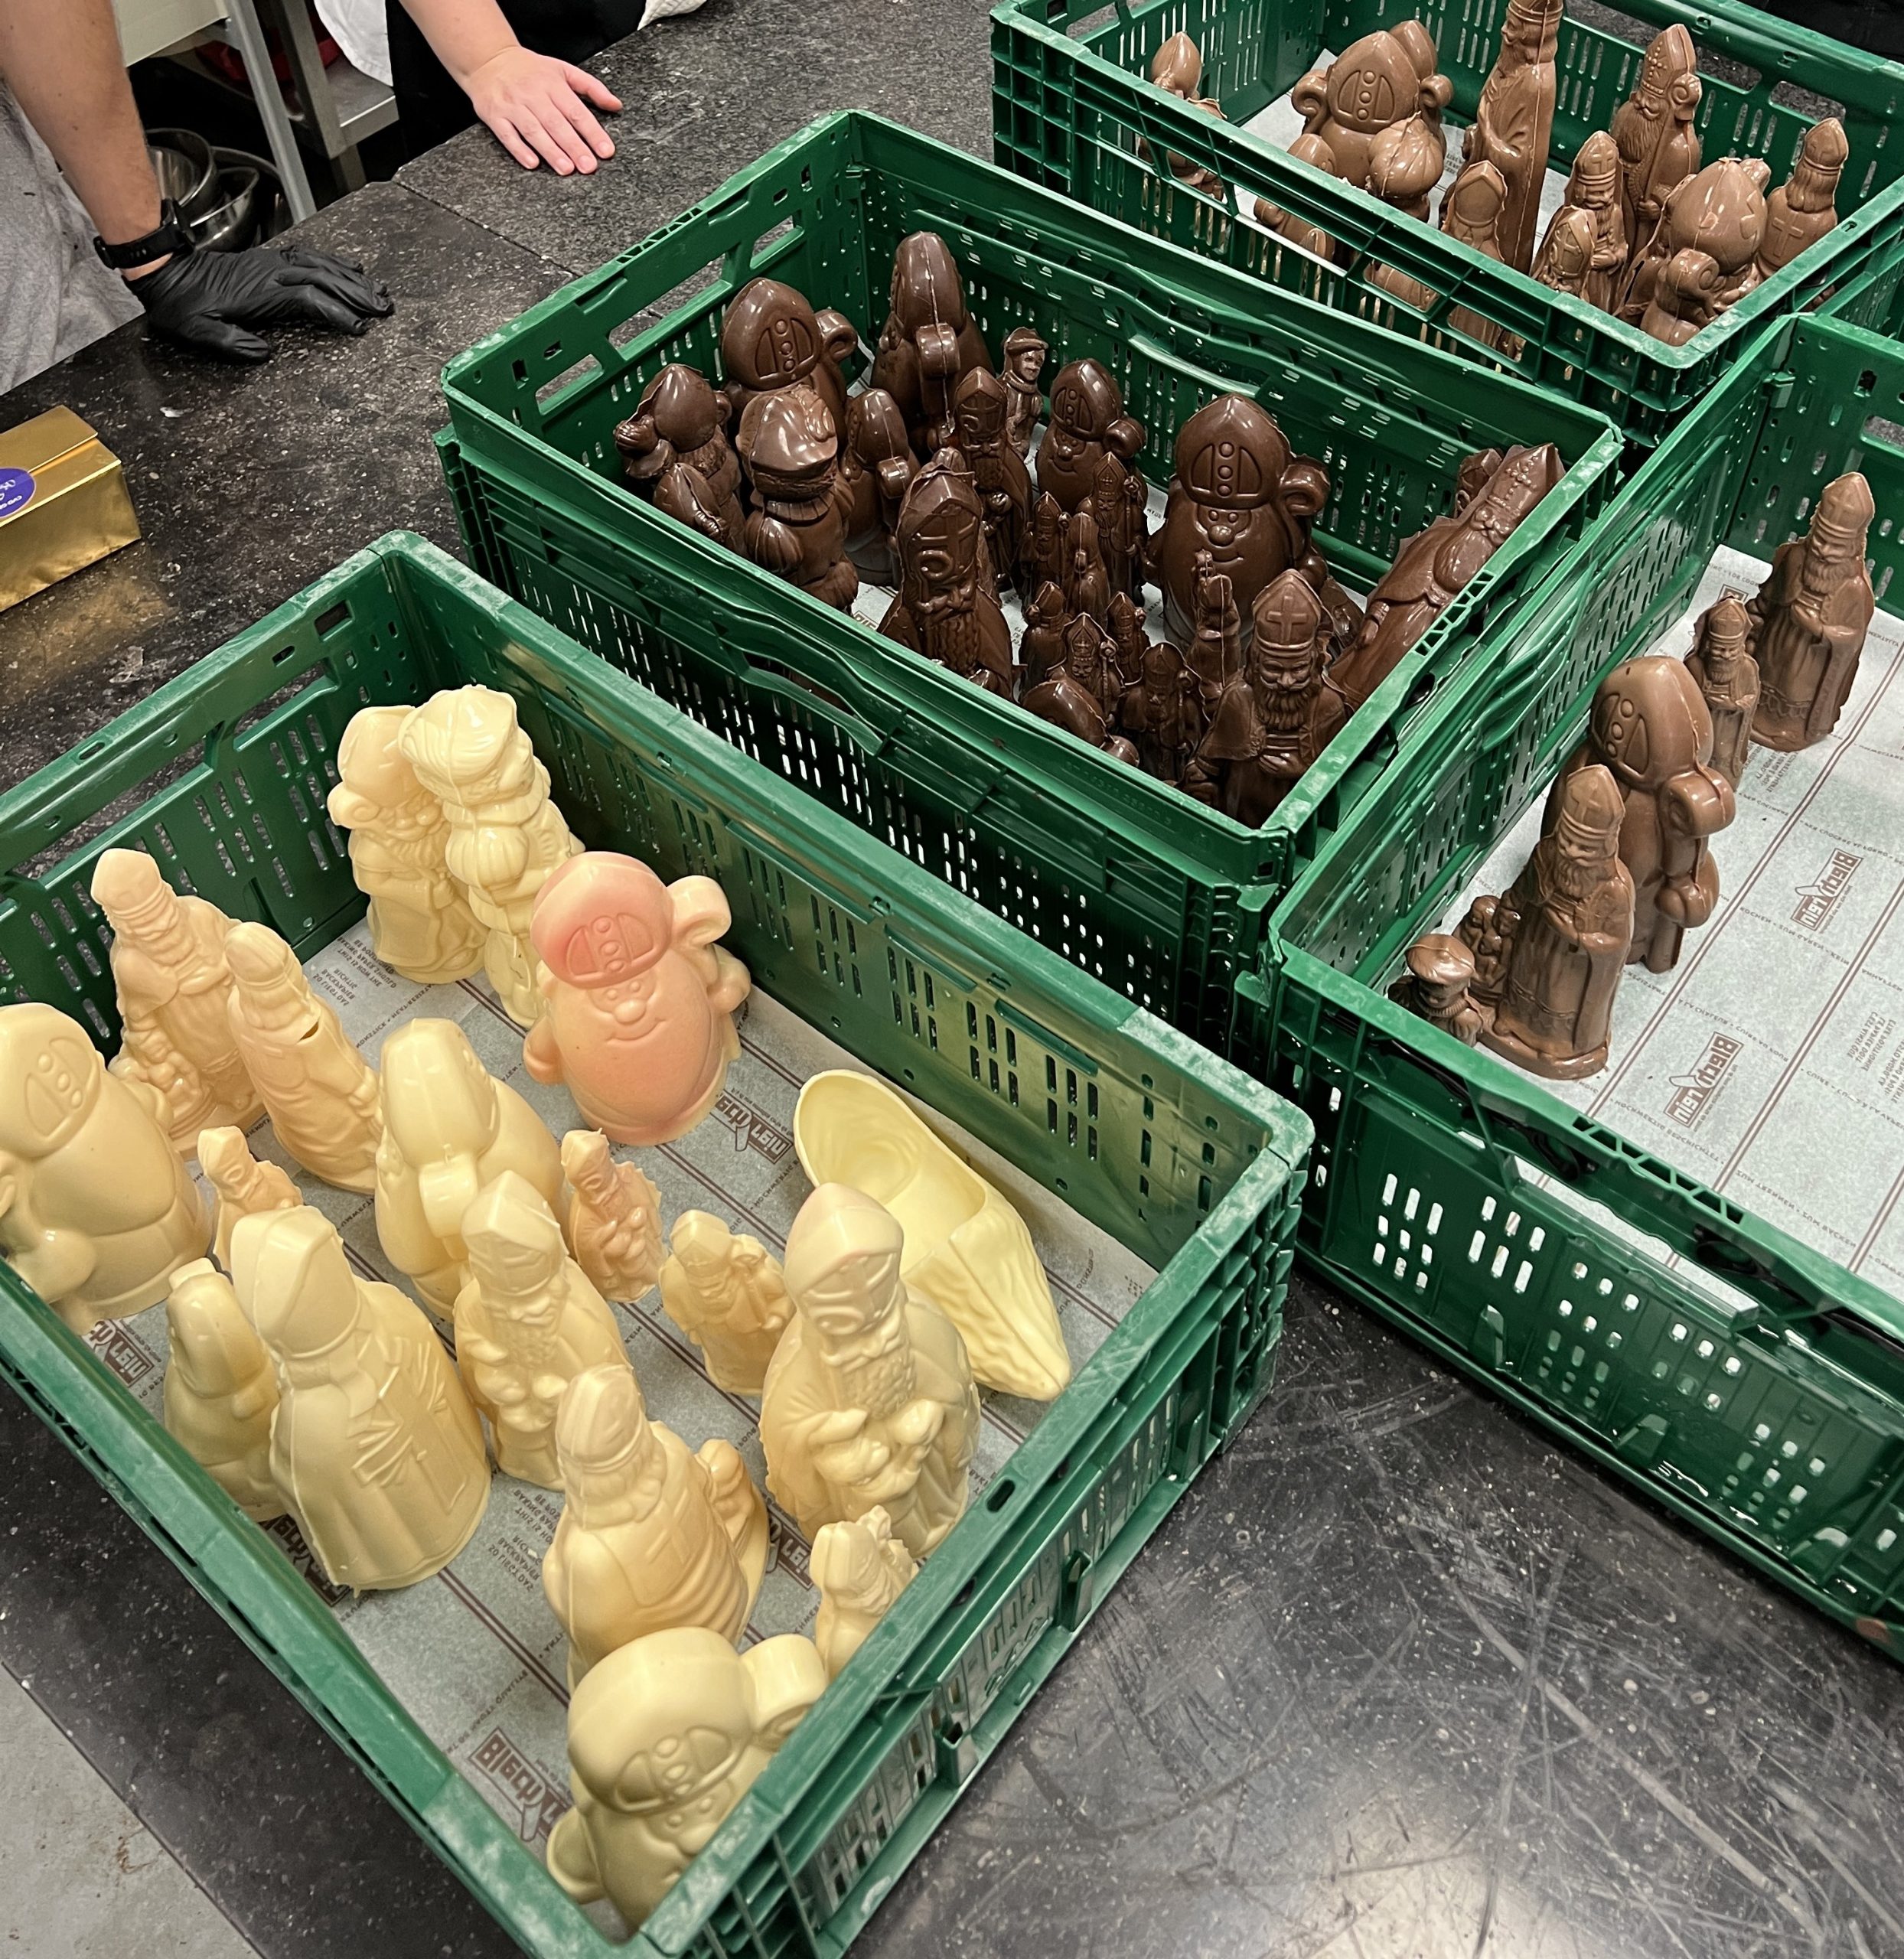
- molds various Saint Nicholas forms
- 2 plate knives
- 1 grate
- closing clips
Ingredients
- tempered chocolate (fondant, milk or white - your choice)
Instructions
Cleaning the molds
- Clean the (inside of the) molds by removing excess chocolate. Start by tapping the mold (gently) against the table and then using a sheet knife to remove the excess chocolate. Do not go inside with a sharp object. Otherwise, the figure will be damaged.
- If necessary, heat the inside briefly with a heat gun and wipe the inside of the molds clean with a paper towel.
- Avoid detergents and/or dishwashing!
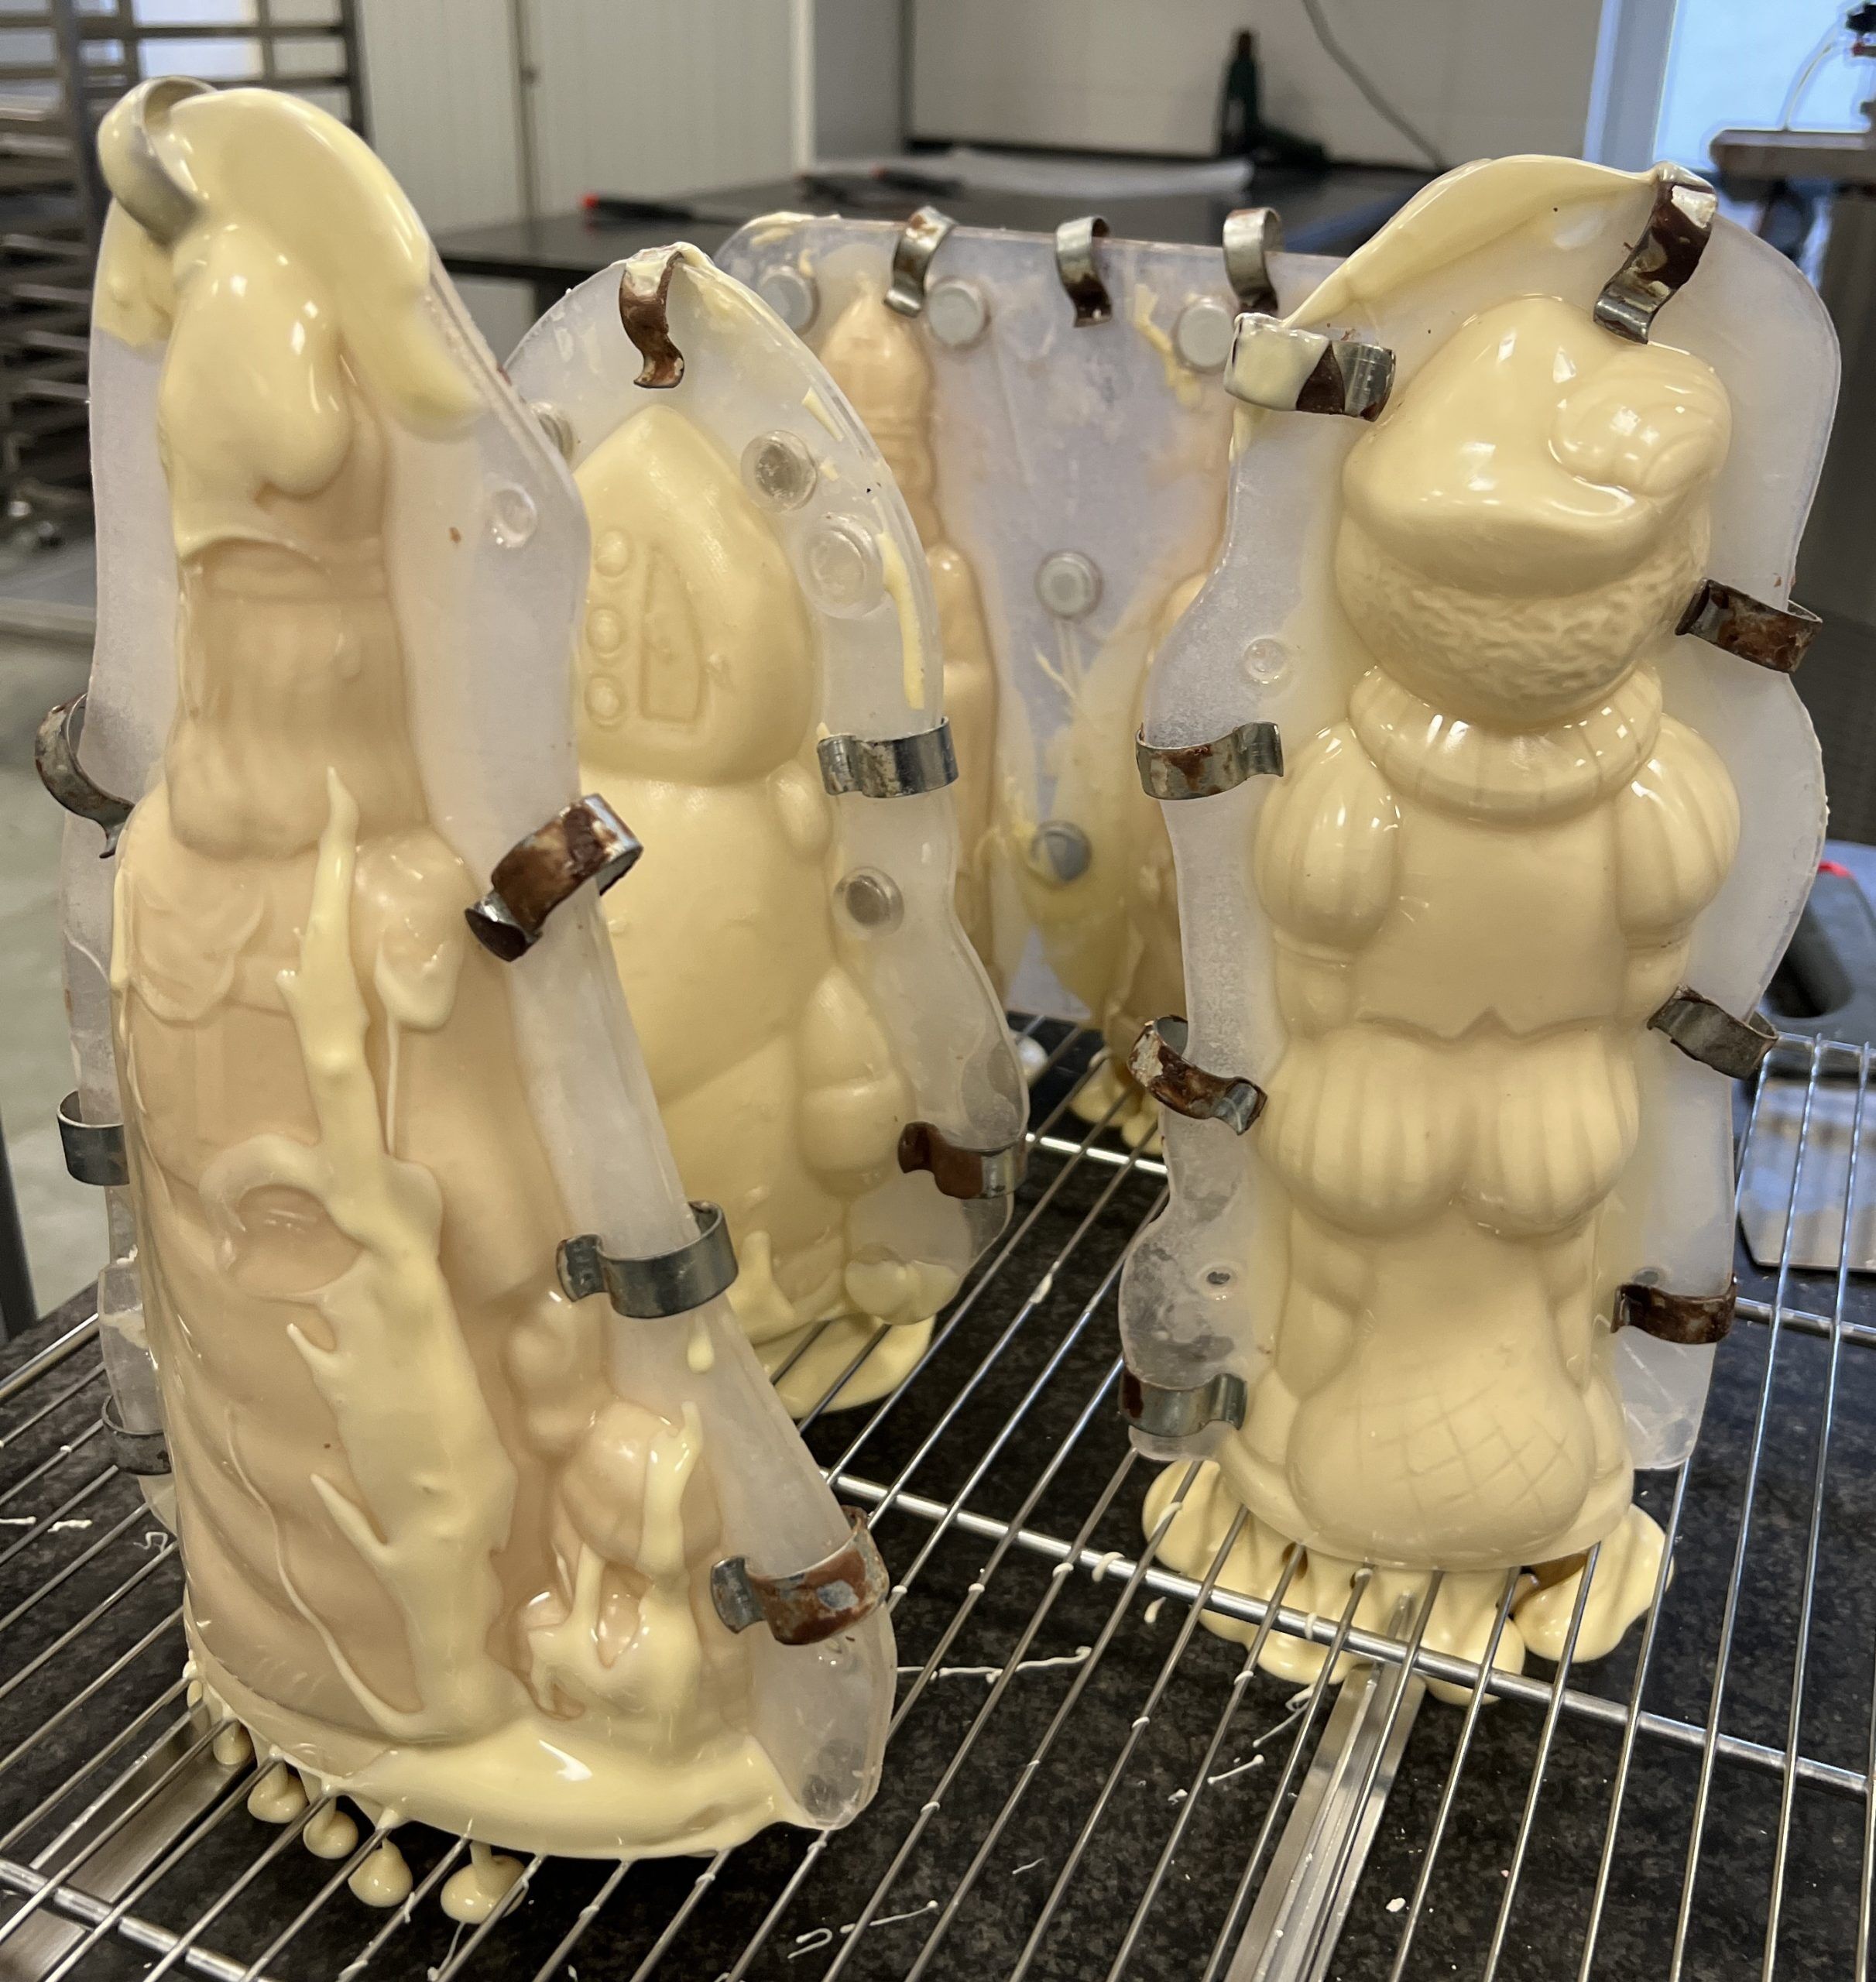
Filling the molds
- Have plenty of tempered chocolate ready.
- If the mold contains fine lines or contours, it can be interesting to already "paint" the inside with the desired chocolate using a brush. This way we are sure that the fine lines also get filled. Let dry briefly.
- Close the mold and attach sufficient locking clips.
- Hold the mold upside down and fill completely with chocolate.
- Using an object, give a few taps along the sides in such a way that the chocolate remains well distributed.
- Make sure there is also enough chocolate at the base of the figure.
- After about 10 seconds, you can turn the figure over and let the excess chocolate drain out. You can possibly use an object to give a few taps along the side to speed up the process.
- Again after about 10 seconds, remove the excess chocolate at the bottom and place on the wire rack.
- Give the excess chocolate time to drain.

- After 5 to 10 minutes, the chocolate has crystallized and you can remove it from the grill. Using a palette knife, remove the excess chocolate at the base. Lay the figure flat and put it in the refrigerator.
Finish
- Remove the figures from the refrigerator
- Remove the clamps.
- Carefully remove 1 of the 2 plastic parts.
- Fold the remaining plastic piece so that the chocolate mold comes off.
- Remove the 2nd plastic part.
- Carefully remove excess chocolate.
Nutrition Facts
Serving: 100g | Calories: 570kcal